
4.1. Email mass messaging
The Email Messaging module allows you to send emails to a group of customers from a specified segment.
Preparing an email mass messaging consists of the following steps:
- Configure A/B testing, if needed.
- Fill in the message parameters. If using A/B testing, you must configure multiple message variants.
- Configure mass messaging settings.
Message parameters
|
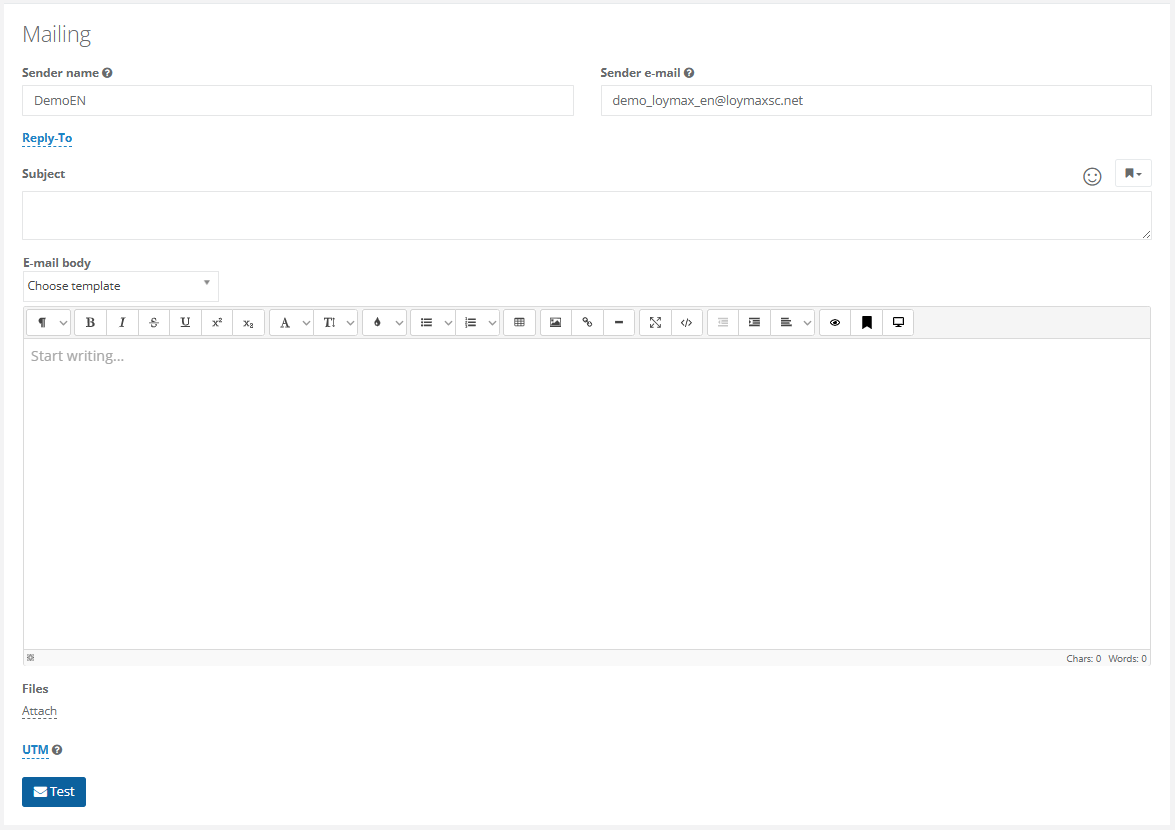
To create an email mass messaging, follow these steps:
- Specify the sender name and sender address.
- Provide a reply-to address if replies or customer feedback are expected. To do this, click the Reply-To link and enter the address in the text field.
- Fill in the subject line and email body. You can use email templates. Formatting is also available in the message body.
- You can attach files by clicking the Attach link below the message body field.
- If needed, you can add a UTM parameter to track the mass messaging online. If a UTM parameter is specified, it will be appended to all links in the email.
- After filling in all message parameters, you can send a test message. Click Test, enter a recipient address in the dialog that appears, and click Send.
Mass messaging settings
All mass messaging types share the same set of configuration options. For a detailed description of these settings, refer to the dedicated article.
Email templates
Smart Communications allows you to use a prebuilt template for your email. To do so, click the Select template field and choose an appropriate template from the dropdown list.
Email body formatting
Formatting is available in the email body to enhance text readability.

|
The following formatting options are available:
- Apply text styles (heading, quote, normal text).
- Apply bold, italic, strikethrough, underline, or superscript/subscript formatting.
- Set font type and size.
- Adjust text and background colors.
- Create bulleted or numbered lists.
- Insert a table, image, link, or horizontal line.
- Expand the editor to full screen.
- View or edit the raw HTML source code.
- Indent text left or right.
- Align text (center, left, right, or justify).
- Insert markup.
- Insert a variable. For example, selecting Customer last name from the dropdown will automatically insert the recipient’s last name into the message.
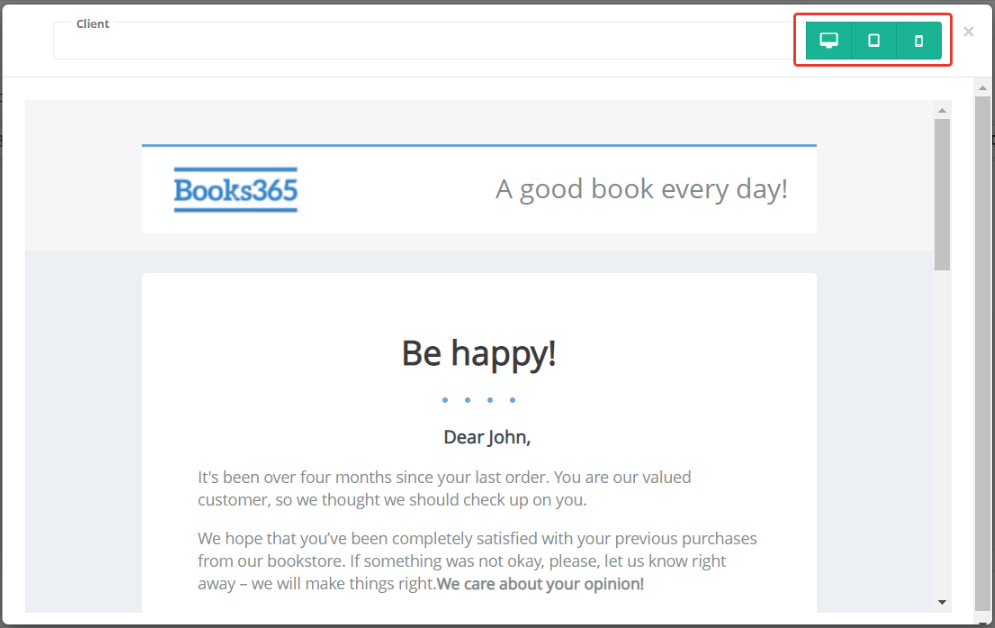
- Preview the message. Use the icons in the top-right corner to preview how the email will appear on desktop, tablet, or mobile devices.
|
You can also preview how the message will look for a specific customer. In the Customer field, enter their full name, phone number, email address, or internal customer identifier (local_id). To ensure unambiguous results, we recommend using contact details or the internal customer identifier.
Image formatting in the email body
When inserting an image into the email body using the formatting toolbar button
| 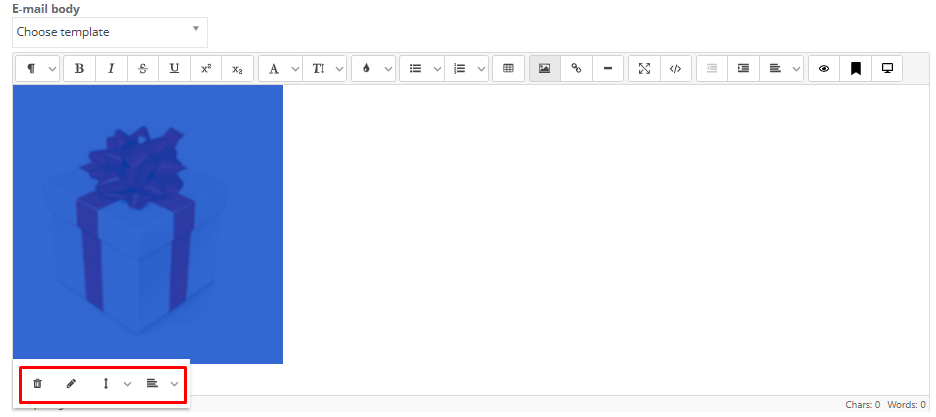 |
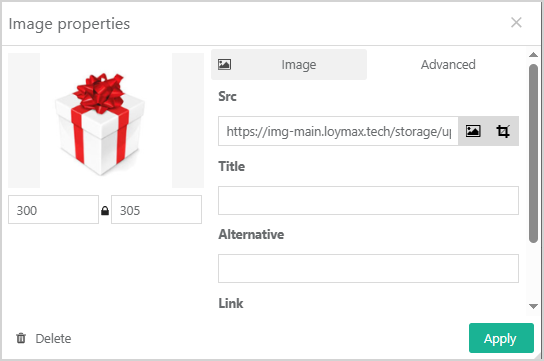
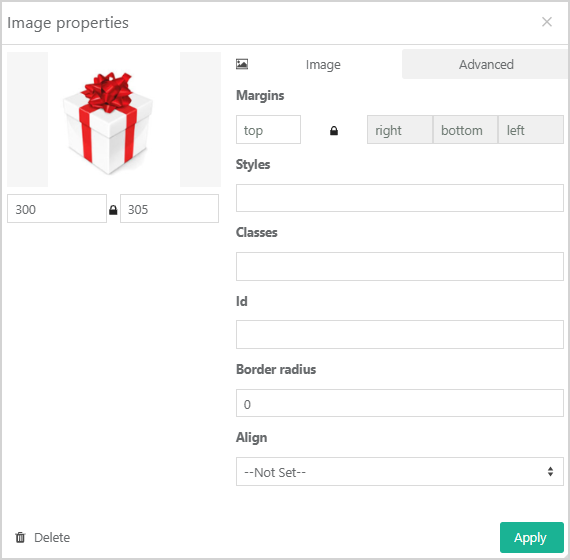
Clicking the edit button opens the Image properties modal window that displays the selected image. You can specify or modify the image dimensions by clicking the lock icon below the image and entering the desired values. To the right of the image preview are two tabs:
In the Image tab, fill in the following fields:
|
|
The Advanced tab includes the following fields:
After filling in the necessary fields, click Apply. |
|
 ).
). ).
).Block email editor
The system includes a block email editor for streamlined work with email mass messagings. To enable it, contact Technical Support.
In the block editor, all email layout work occurs within a single tab. You can build an email using blocks, switch to code editing mode, or apply an email template. Preview ![]() and test-send
and test-send ![]() options remain available in the top toolbar (see image below).
options remain available in the top toolbar (see image below).
 |