
Templates
The System allows for designers to create templates for email messages in the Templates section. A two-level system is implemented here: the dummies for templates are created first (header, footer, email body, etc.), and then they are used to build message templates.
Dummies
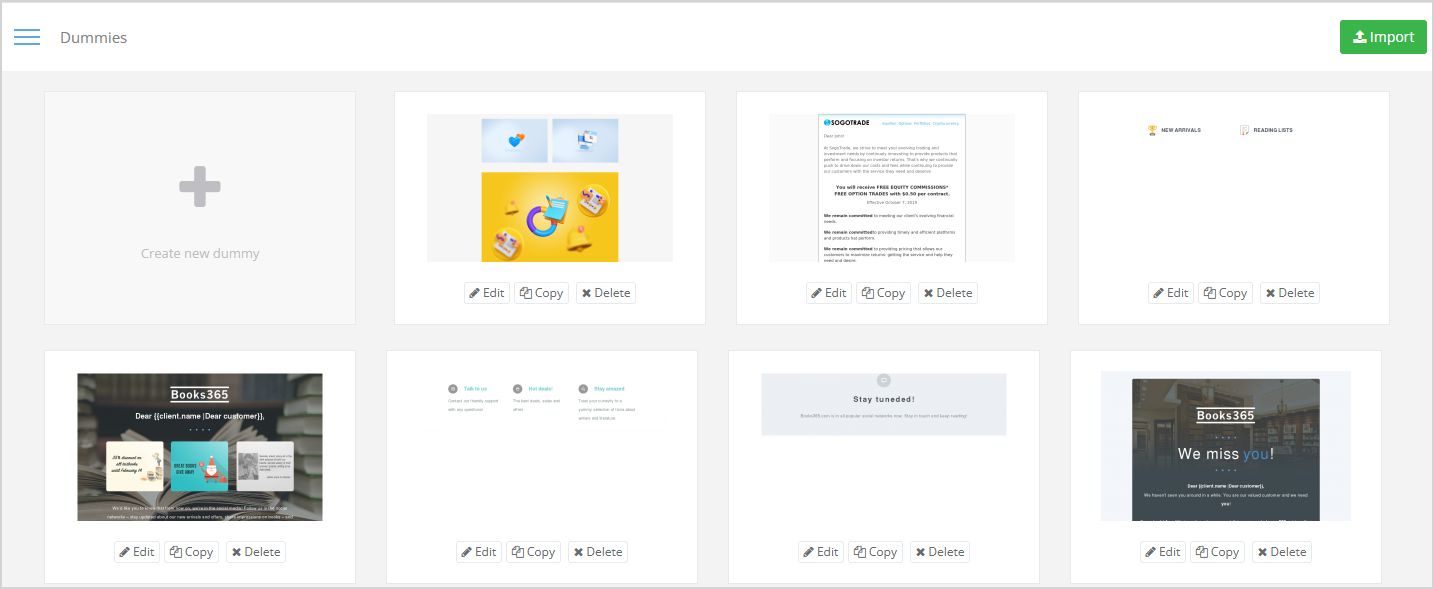
A list of all saved dummies is displayed in the Templates > Dummies menu section. In this section you can:
- create and upload new dummies,
- edit, copy or delete previously saved dummies.
|
How to create dummies
Dummies are individual elements of future messages (header, footer, social media buttons, etc.). There are 2 ways to create a new dummy:
Creating a template from scratch
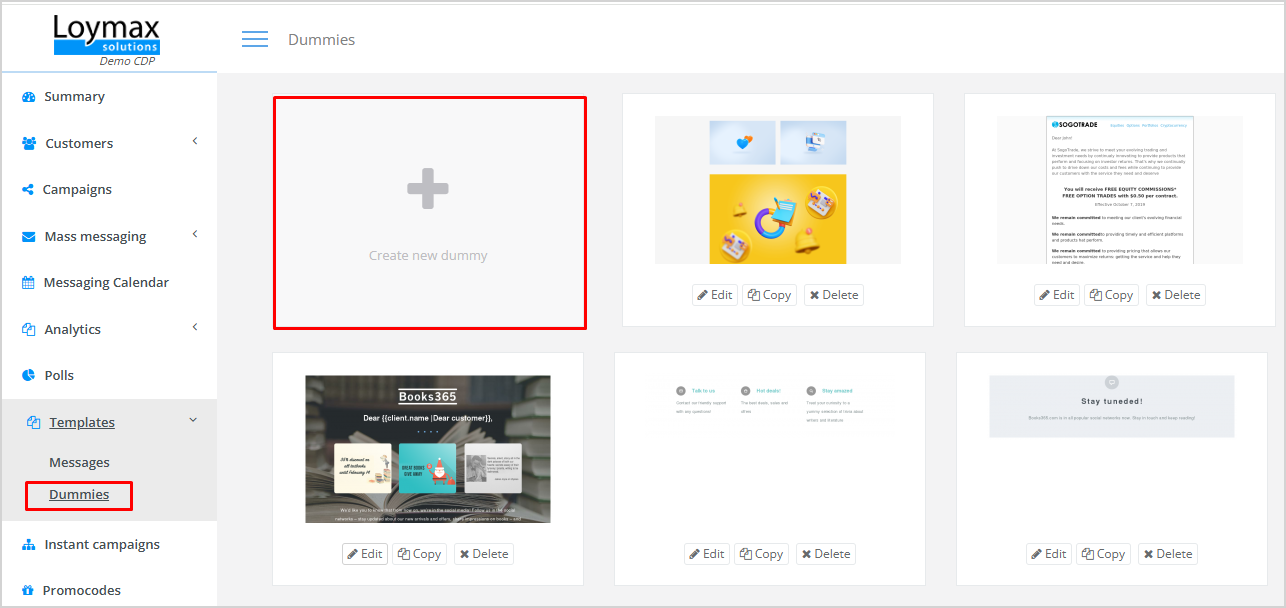
Click Create new dummy in the Templates > Dummies section.
|
Build your dummy using the available formatting tools.
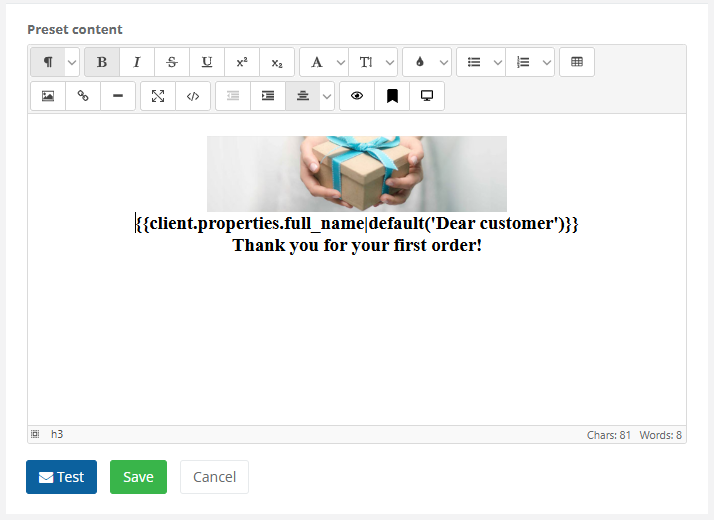 |
In the message body, it is possible to use the template engine constructs.
To send a test message:
To save the dummy, click the Save button. | 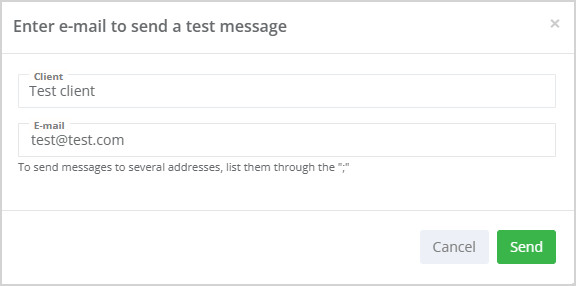 |
Importing a template from file
| To upload dummies from a file, click Import in the Templates > Dummies section. | 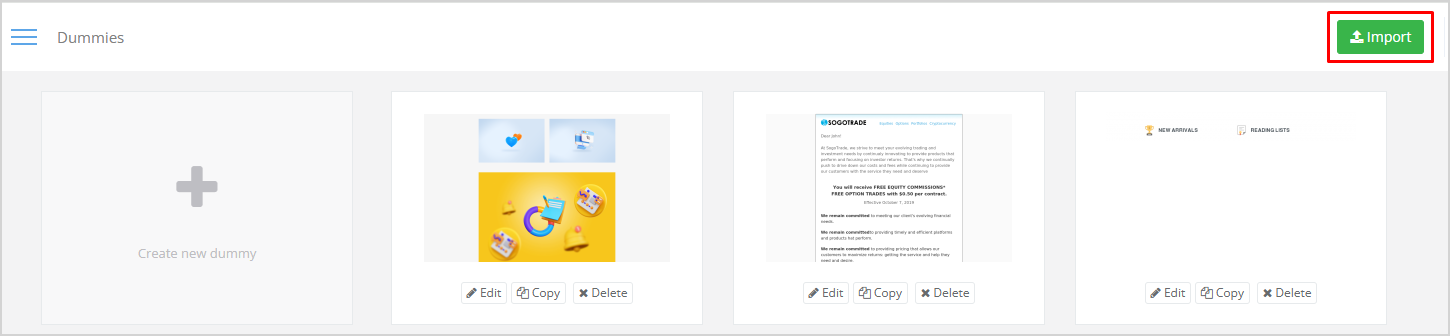 |
The file should be in ZIP format. Zipped file should contain a file named index.html that includes dummies formatted as follows:
<!-- preset -->
Body of the first dummy
<!-- /preset -->
...
<!-- preset -->
Body of the last dummy
<!-- /preset -->
Important! The file should be named index.html and each dummy should be wrapped in comment tags: `<!-- preset -->` at the beginning and `<!-- /preset -->` at its end. If you're importing the entire message instead of a dummy, it should also be enclosed within these comment tags. Images can be used in the dummy. They will be uploaded and embedded into the message body as base64. All images, including background images, should be stored inside the images directory. Thus, the structure of the ZIP file should match the one shown in the image on the right. | 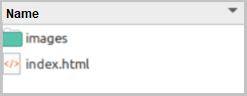 |
Dummy editing, copying, deleting
| You can edit, copy or delete a template dummy. To perform any of these actions, click the corresponding button under the dummy. | 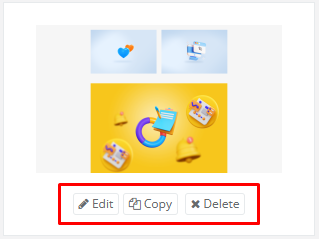 |
Message templates
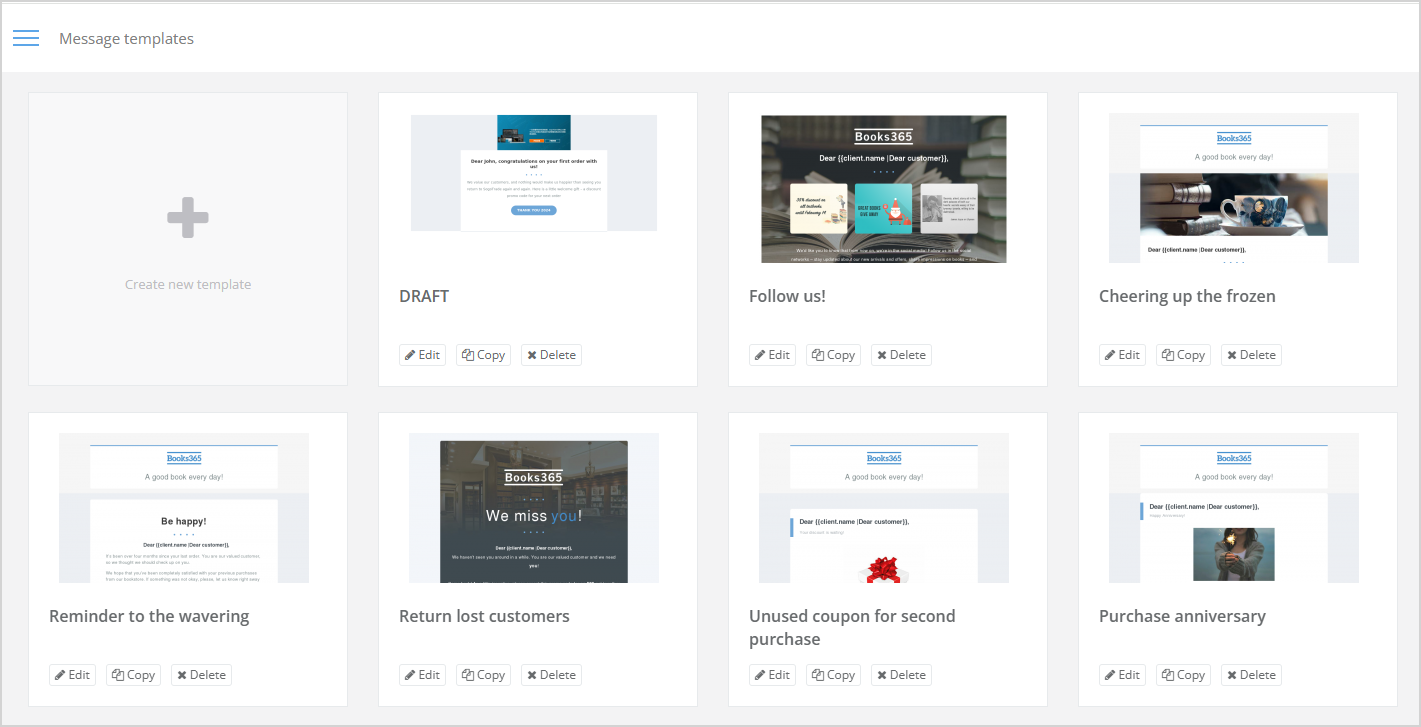
A list of all saved message templates is displayed in the Templates > Messages menu section. In this section you can:
- create new message templates;
- edit, copy or delete existing templates.
|
How to create message templates
| To create a new message template, open the Templates > Messages section and click Create new template. | 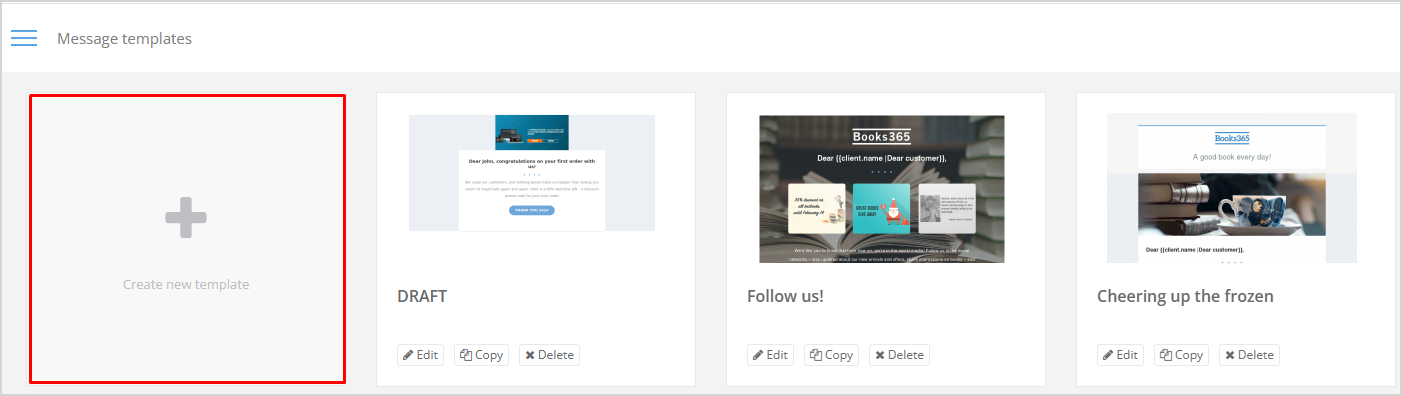 |
Drag the dummy from the left side of the page to the right side (see image on the right). | 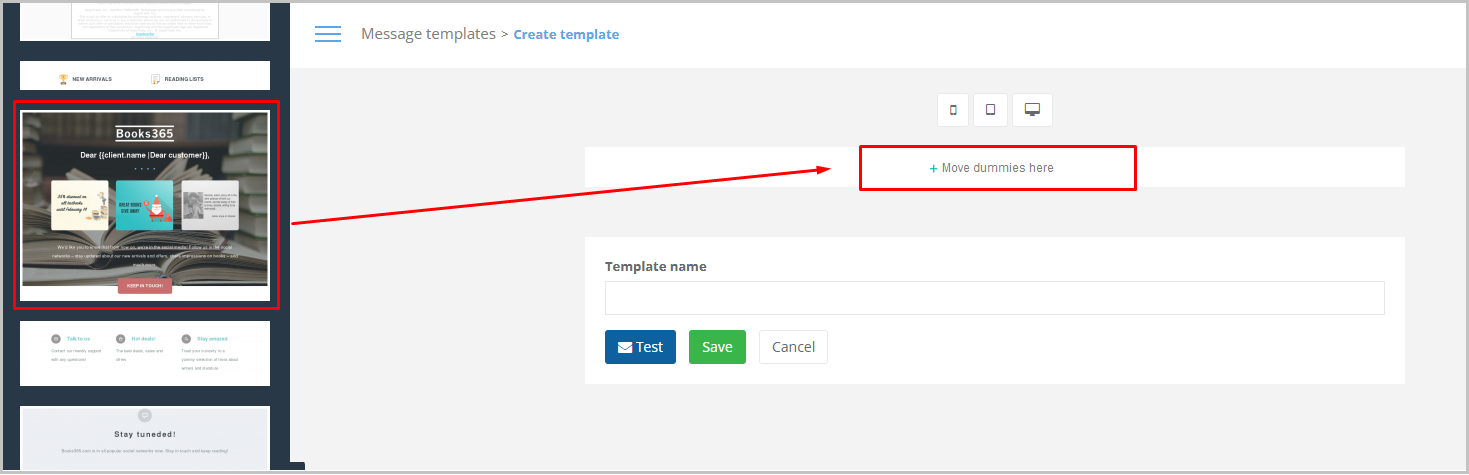 |
You can preview how the message template will look like on mobile phone, tablet or desktop by clicking one of the device icons (see image on the right). | 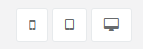 |
When pointing to a dummy in the template, the following actions become available:
| 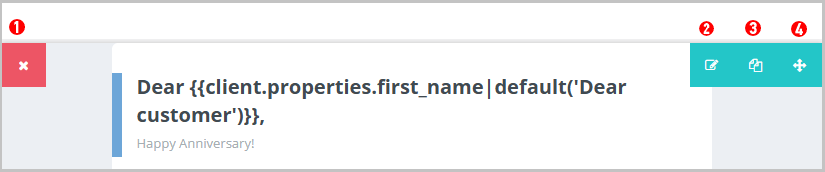 |
To save the template, enter its name and click the Save button. | 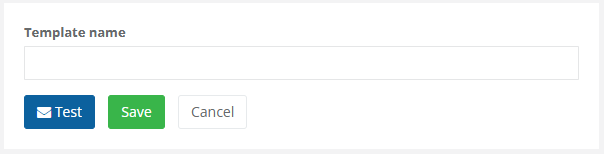 |
To send a test message:
| |


Template editing, copying, deleting
You can edit, copy or delete a message template. To perform any of these actions, select the corresponding button below the template. | 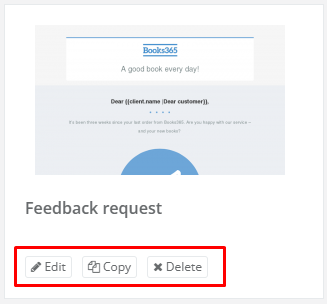 |