
Fields
Contents:
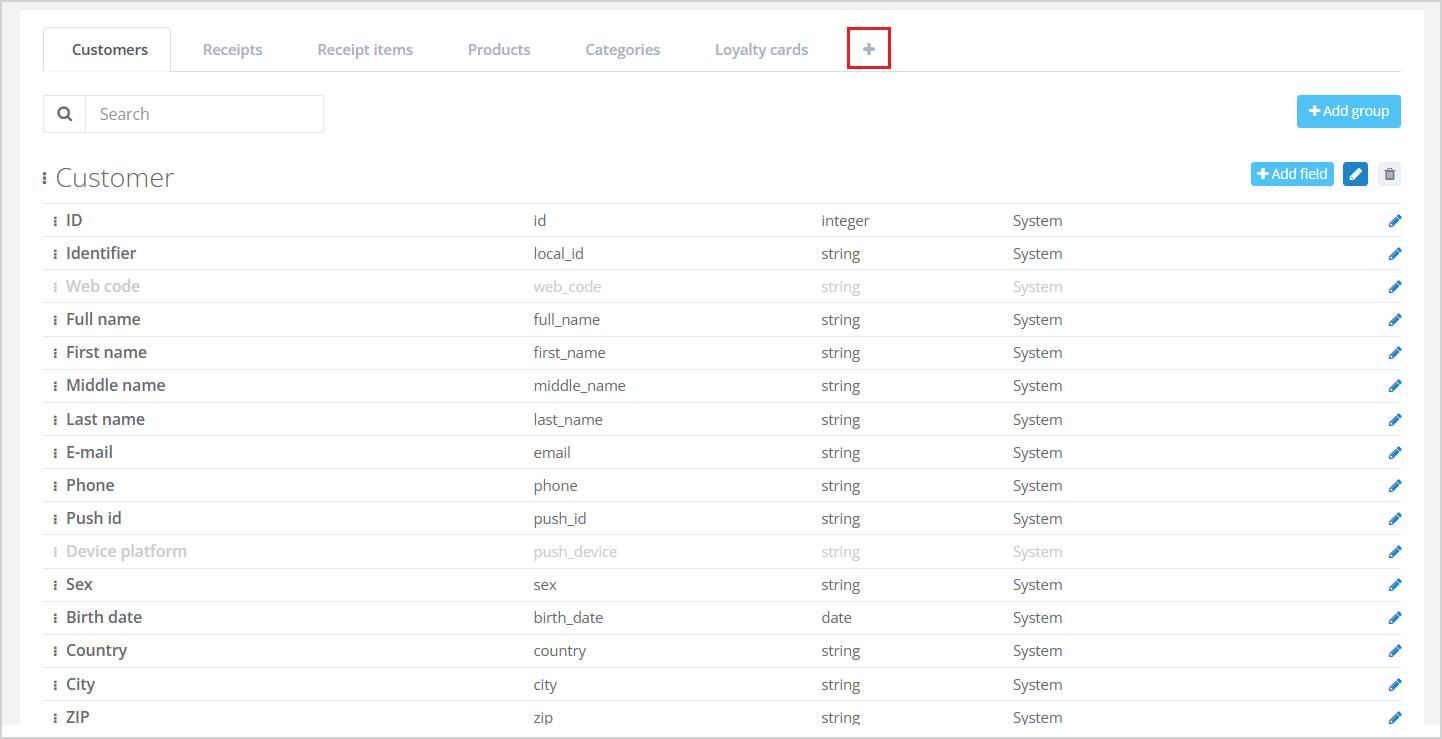
In Loymax Smart Communications, you have the ability to manage custom fields for the following objects:
- Customers;
- Receipts;
- Receipt lines;
- Orders;
- Order lines;
- Products;
- Categories;
- Loyalty cards.
|
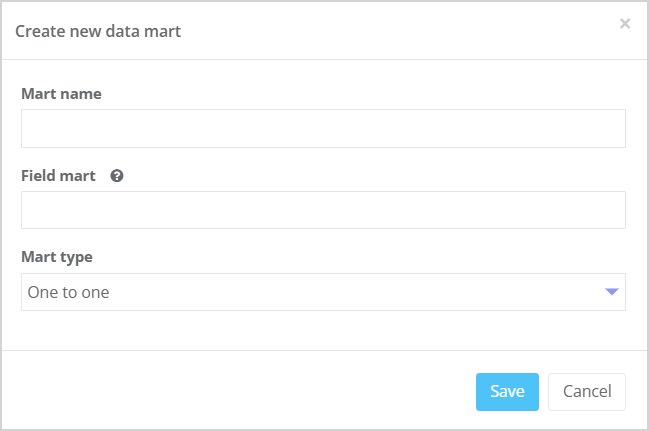
If needed, you can create a new data mart (object) by clicking on the tab with the plus icon
|
|
 . A modal window will open where you need to specify:
Field List
In the Fields section, you can view a list of all fields used in the System.
Some objects are divided into groups. For example, fields of the Customers object are grouped as follows:
- Customer;
- Contacts;
- Bonuses;
- Scoring.
For each field, the following information is displayed:
- Name — the name of the field visible to users;
- Field Code (system name) — the system identifier used when accessing the field via REST API;
- Field Type (string, date, integer, etc.);
- Field Scope — either system or custom:
- System fields are pre-defined in the System;
- Custom fields are created by users.
Field Order
- You can change the order of fields and object groups by dragging them.
- Fields are displayed in the same order in the Segment builder as they appear in the Fields list.
- The field order in the Customer profile is configured through profile view settings. For more details, see the article View management.
Filtering by Field Names
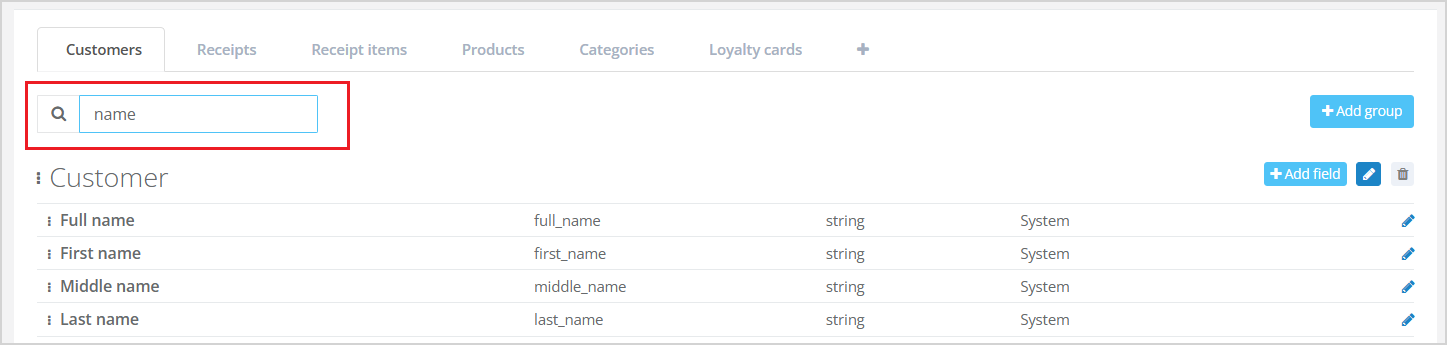
If needed, you can filter the list of fields using the Search bar by field name. For example, you can find all fields containing the word "name".
|
Object Visibility in Customer Profile
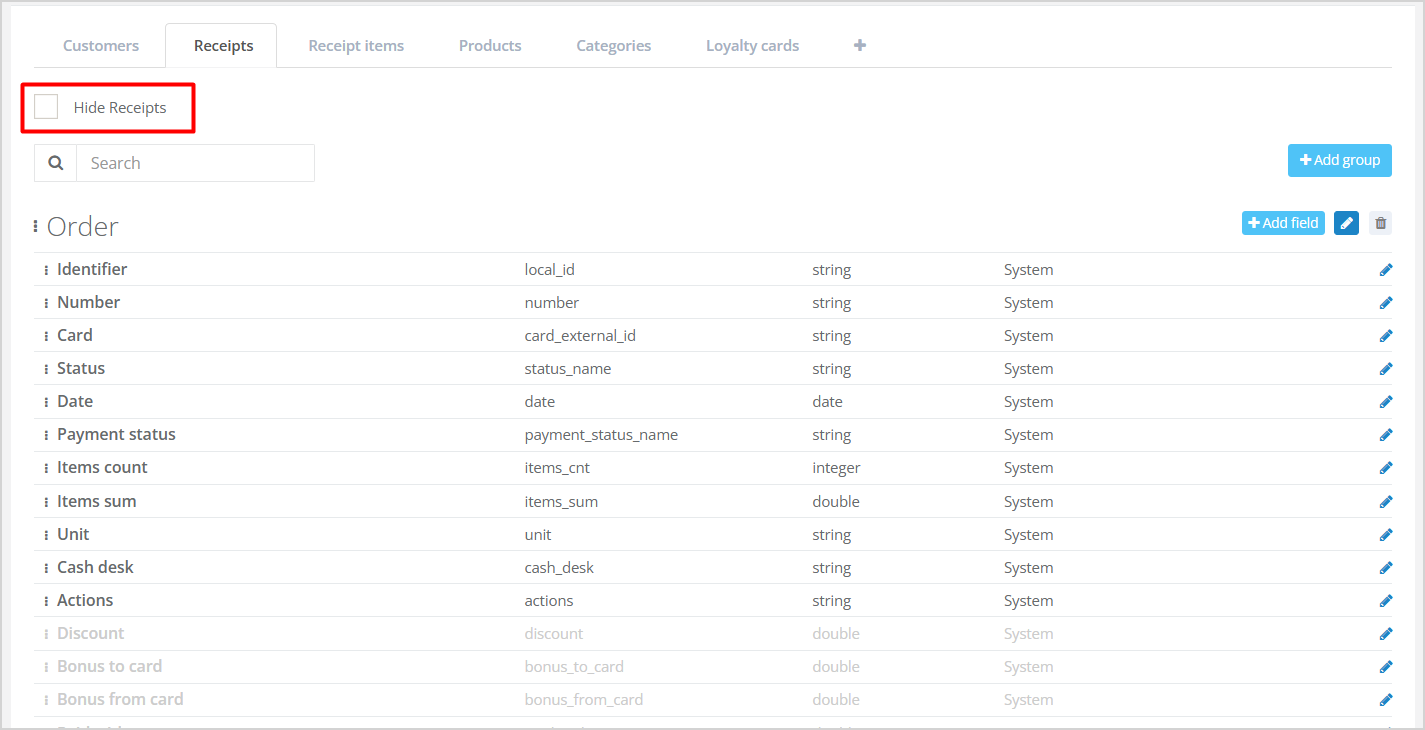
The Receipts and Receipt Lines objects can be hidden in the customer profile. To do this, check the Hide reciepts/Hide reciept lines box on the corresponding tabs.
|
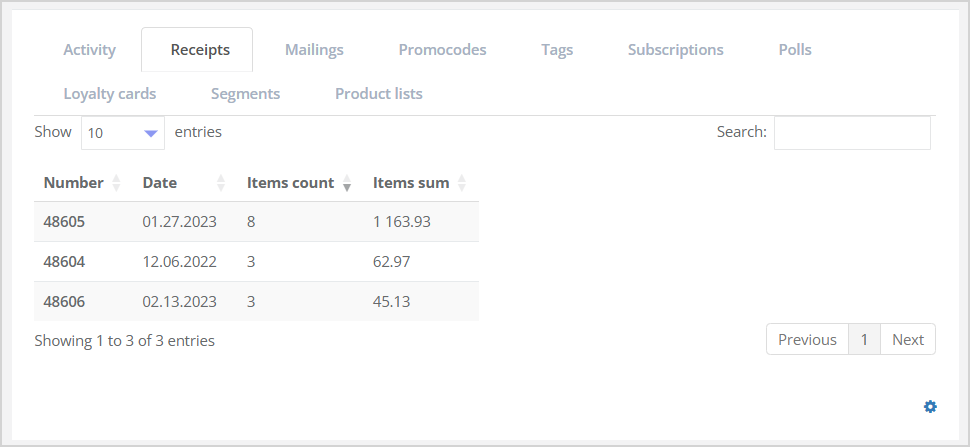
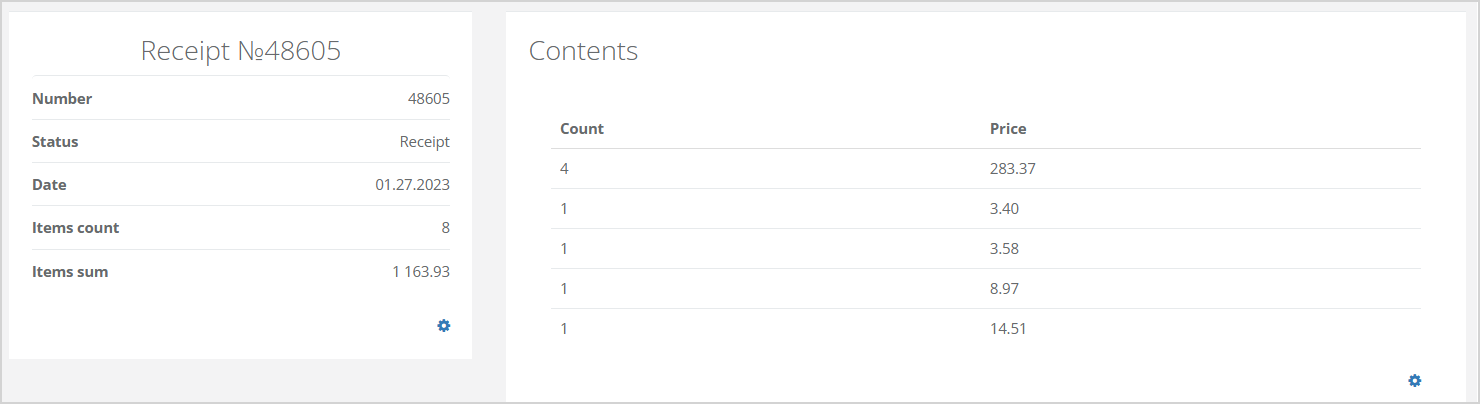
| An example of the Receipts tab in the Customer profile, when receipts are visible, is shown below. | When receipt lines are enabled, they appear when clicking the identifier value in the Identifier column on the Receipts tab in the Customer profile. A window titled Content opens. |
|
|
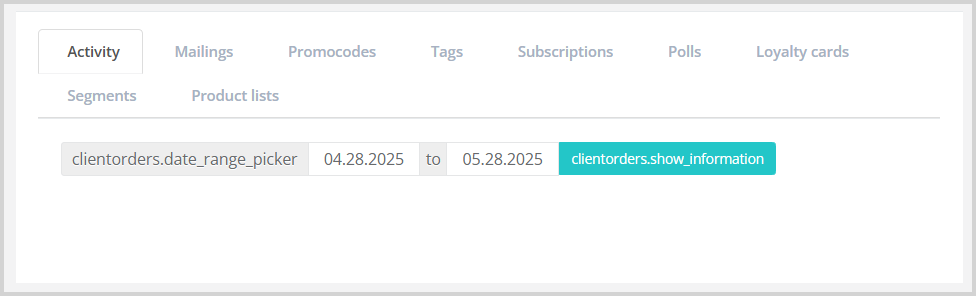
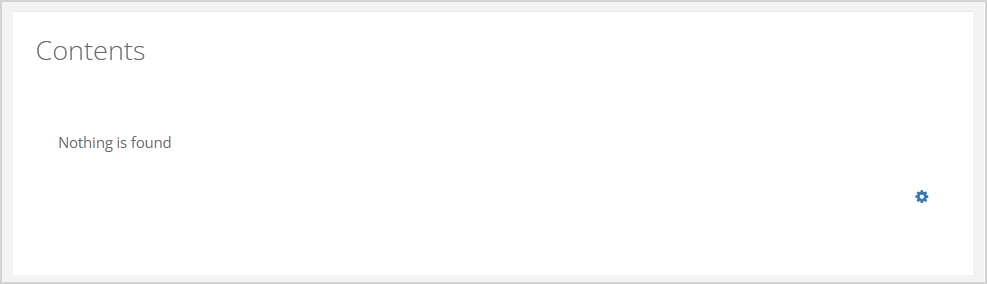
| If receipts are hidden, the Receipts tab does not appear in the Customer profile. | Example of the Content window when receipt lines are hidden. |
|
|
Adding Fields
1. Adding a Field Group
To add a new field group, click the Add group button in the top-right corner. In the opened Group Property window, specify the Group Name.
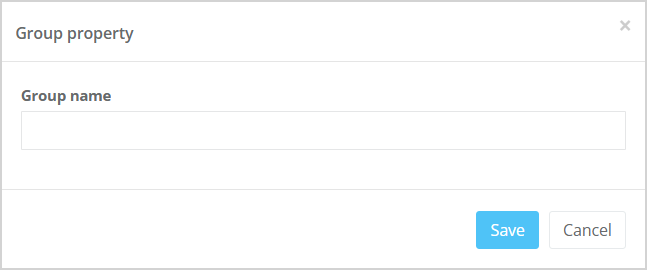
|
2. Adding a Field
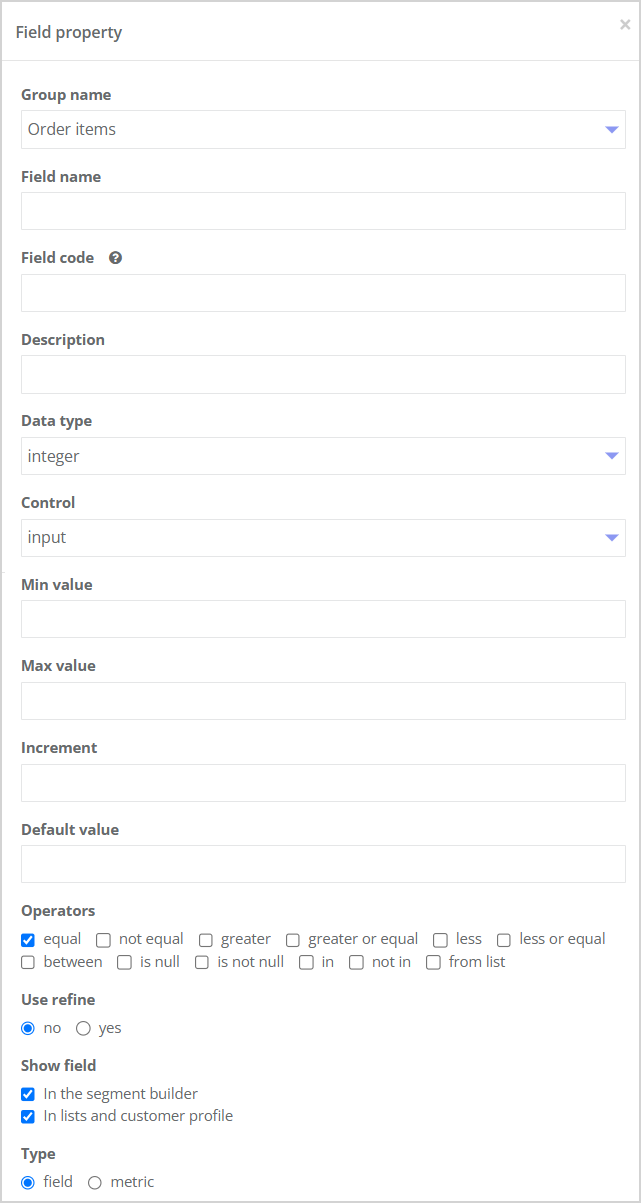
To create a new field, click the Add field button. A window will open where you need to fill in the field properties.
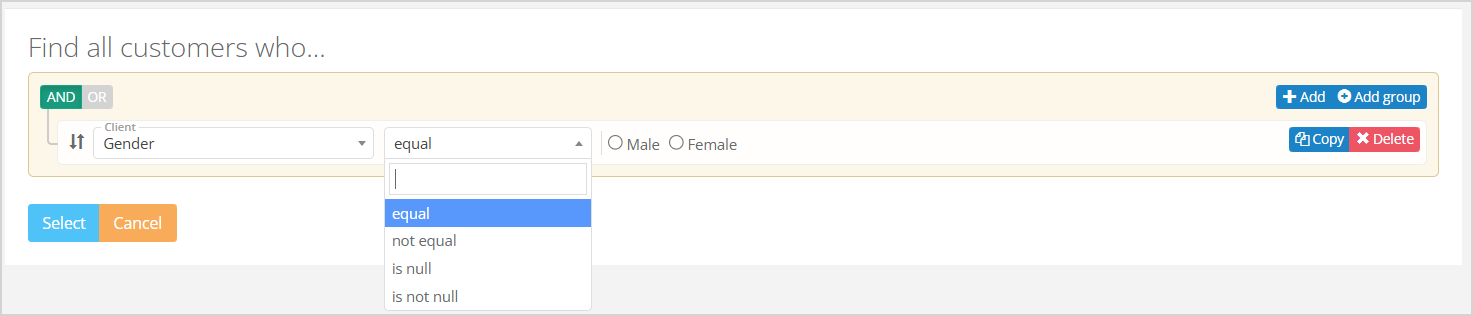
Fields may have different properties depending on their type. You must complete the common field properties, as well as those specific to the selected field type. Common Properties
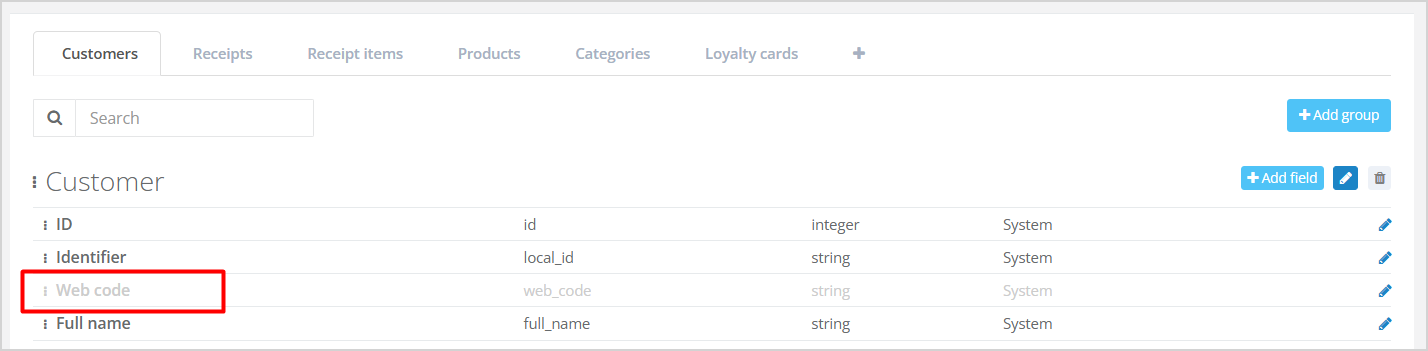
Invisible fields will appear in light gray in the field list.
|
|
Field Properties Depending on Data Type
- Properties of a field with type "integer";
- Properties of a field with type "decimal";
- Properties of a field with type "string";
- Properties of a field with type "date";
- Properties of boolean fields;
Properties of Integer Fields
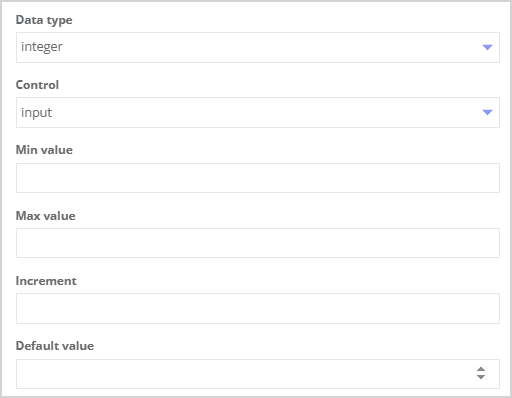
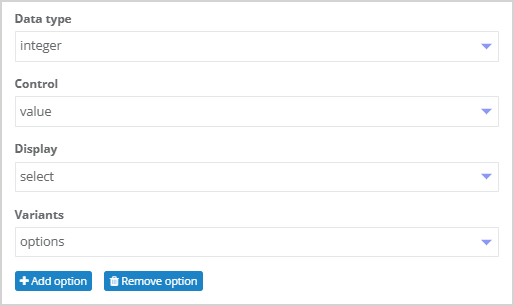
In addition to common properties, integer fields have the Control property with the following options:
- input,
- value.
Each control type has its own set of additional properties.
| Input | Value |
For input fields, the following additional properties are available:
| The following additional properties are available:
The Add Option and Clear All Options functions are also available.
|
Properties of Double Fields
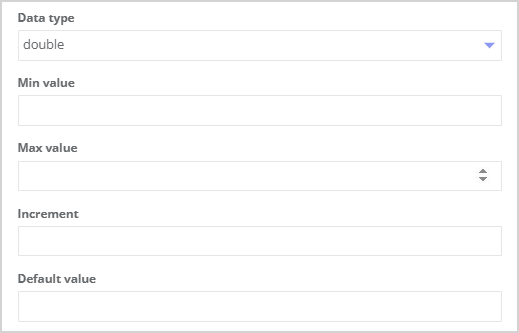
Double fields support the following additional properties:
|
|
Properties of String Fields
For fields with the type String, the Control Type property is available with the following options:
- Input;
- Value;
- List.
Each control type has its own set of additional properties.
| Input | Value | List |
The following additional properties are available for input fields:
| The following additional properties are available:
The Add Option and Clear All Options functions are also available.
| The following additional properties are available:
Directories can be managed and edited in the Settings > Directories section. You can read more about reference books in the article Directories. |

|

|

|
Properties of Date Fields
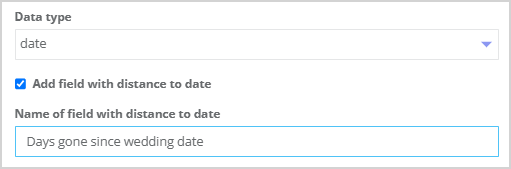
For date fields, there is an additional property called Add field with distance to date, which enables calculating how much time has passed since a specific date.
For example, consider the field Wedding Date. You can add an additional field — Days gone since wedding date. This new field can then be used in the Segment Builder:
|
|

Properties of Boolean Fields
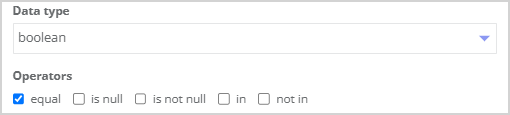
Fields of the boolean type do not have any additional properties. Only five operators are available for this field type:
|
|
Editing Fields
1. Editing a Field Group
To edit a field group, click the Edit icon  to the right of the group name. Only the Group name can be edited.

|
2. Editing a Field
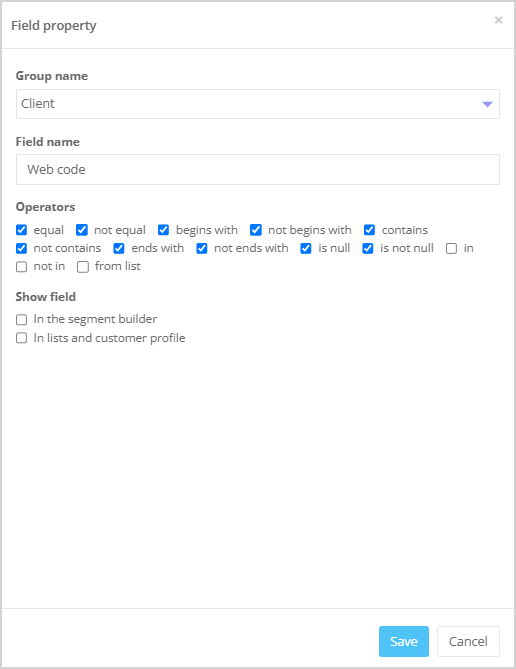
To edit a field, click the Edit icon to the right of the field name. For custom fields, all properties described in the section Adding a Field are editable. For system fields, only a subset of properties can be edited:
|
Deleting Fields
1. Deleting a Field Group
To delete a field group, click the Delete icon to the right of the group name.

|
2. Deleting a Field
To delete a field, click the Delete icon to the right of the field name.